UST projector setup: measure before you mount the screen
The most common setup mistake is mounting the screen first and discovering the cabinet cannot place the projector at the required height and distance.
1. Pick image size
Decide whether 100, 120 or 150 inches fits the wall and seating distance. Larger is not automatically better if the room is bright or the seating is very close.
2. Confirm projector geometry
Use the exact model's placement diagram. Chassis depth, lens position and vertical offset determine where the cabinet must sit.
3. Level the furniture
UST projectors are sensitive to small angle changes. Level the cabinet first, then use the projector's adjustable feet before digital keystone correction.
4. Align physically before using keystone
Digital geometry tools are convenient, but physical alignment preserves the most pixels and usually produces the cleanest edges.
5. Connect sources and audio
Plan HDMI, eARC/ARC, Ethernet and power before final cable concealment. For the Polaris, an external streaming box is a sensible part of the plan because published reviews describe an older onboard app environment.
6. Use eye-safety features
UST lasers are bright and aimed upward. Keep children from leaning over the optical window, and leave any proximity/eye-protection features enabled.
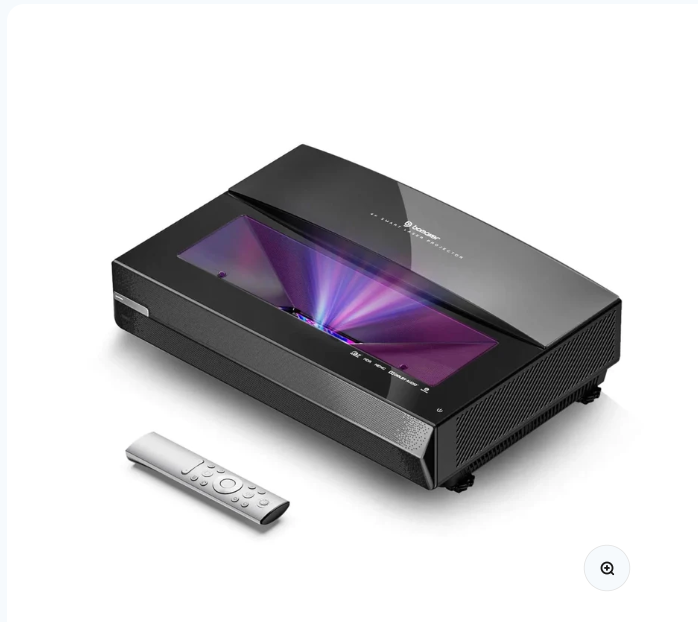
Bomaker Polaris 4K UST
4K ultra-short-throw projector with an RGB laser light engine and a reported 2,500 ANSI-lumen brightness rating. Check the merchant for current price, stock and shipping terms.